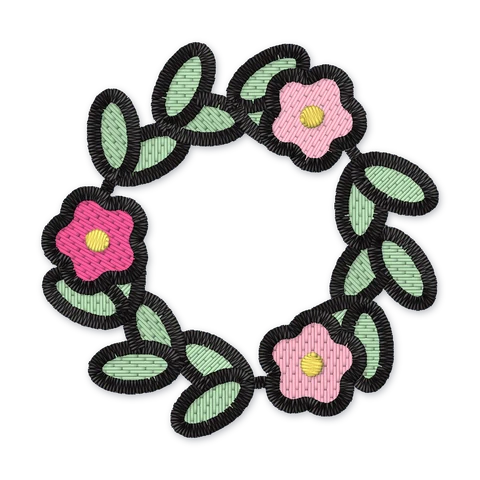
Frame & border embroidery designs
Circles, ovals, scalloped frames and corner borders: these frame and border embroidery designs are made to surround a name, an initial, a date or a small motif. Many frames are free, as PES, JEF, VP3, EXP or DST files. Combine the frame and its contents on your machine's editing screen first, so both sew in one hooping and stay aligned.
1 design
- Premium
Frames do the design work around text. A plain circle makes a simple initial look finished, and a scalloped oval turns a baby's name into a keepsake. Corner borders dress up napkins, pillowcase hems and quilt blocks, while a slim frame around a date suits wedding and anniversary gifts.
When you place text inside a frame, leave an even gap of a few millimeters on every side and center it on both axes. Thin frames reveal any distortion, so hoop drum-tight, with cut-away on knits and a medium tear-away on wovens. On towels, a water-soluble topping keeps a slim frame line from disappearing into the loops.
Put your own text inside with the monogram maker, or use a decorated initial from the monogram designs. Frames made of flowers and leaves are collected in floral wreath and frame designs.
Frequently asked questions
How do I center a name inside a frame design?
Open the frame and the name on your machine's editing screen and use the center or align function, if your machine has one, to give both the same center point. Check that the gap between name and frame is even on all sides, save the pair as one file and stitch it in a single hooping.
How do I stitch a border in the corner of a napkin?
Float the napkin on hooped adhesive stabilizer, or hoop it diagonally, so the corner sits in the sewing area with the design turned 45 degrees. Measure the same distance in from both hems to find the spot. A light tear-away is enough for cotton and linen napkins.