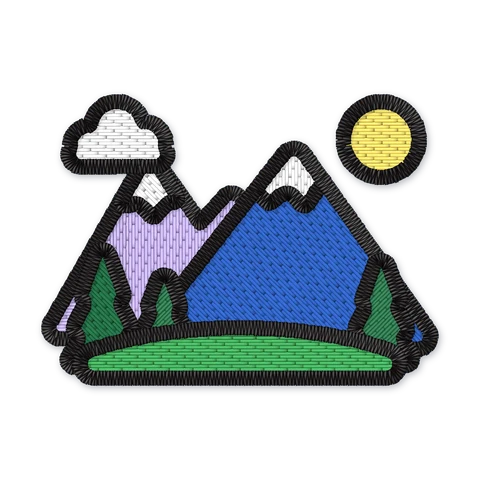
Camping embroidery designs
A tent pitched among pine trees, a campfire, a compass for finding the trail: these camping embroidery designs belong on camp shirts, hats and hiking gear. Many of the files are free, and you can pick PES, JEF, DST, EXP or VP3 for your machine. Tip: flannel shirts are woven, so a medium tear-away is often enough for a small tent on the chest.
2 designs
- Premium
- Premium
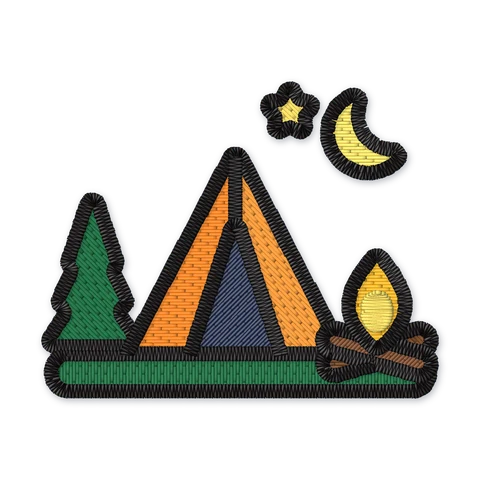
Our camping embroidery designs stay at the campsite: tents, campfires, compasses and pine trees. For hot air balloons, maps and framed explorer badges, look in the adventure designs, and for vintage campers on wheels, in the car designs.
Outdoor gear is often hard to hoop. For a backpack or a duffel bag, hoop a sticky stabilizer, press the front pocket onto it and make sure the straps and the rest of the bag hang clear of the needle. Keep the design away from zippers and thick seams so the presser foot can move freely.
For a family trip or a summer camp week, stitch the same 95 mm tent or campfire on everyone's shirt in matching thread colors, so the set looks planned. The 70 mm size suits the flap of a backpack pocket.
Frequently asked questions
Which camping designs fit on a cap?
Choose a compact motif such as a single tent, a campfire or a compass, since tall pine scenes can be too high for the curved front. Measure the flat area of the cap front, use a tear-away cap backing on structured caps, and center the motif on the front seam.
How do I embroider a wool or fleece camp blanket?
Cover the stitching area with a water-soluble topping, which stops the stitches from sinking into the wool or fleece fibers, and put a tear-away or cut-away underneath. If the blanket is too thick to hoop, hoop the stabilizer alone and float the blanket corner on it with basting stitches. A corner placement keeps the design visible when the blanket is folded.